Managing applications in the pipeline
Every application belongs to one job and moves through the stages configured for that job.
Common stages
A pipeline might run Applied → Screening → Evaluation → Interview → Offer → Hired. Admins can rename and reorder the stages to match how your organisation works.
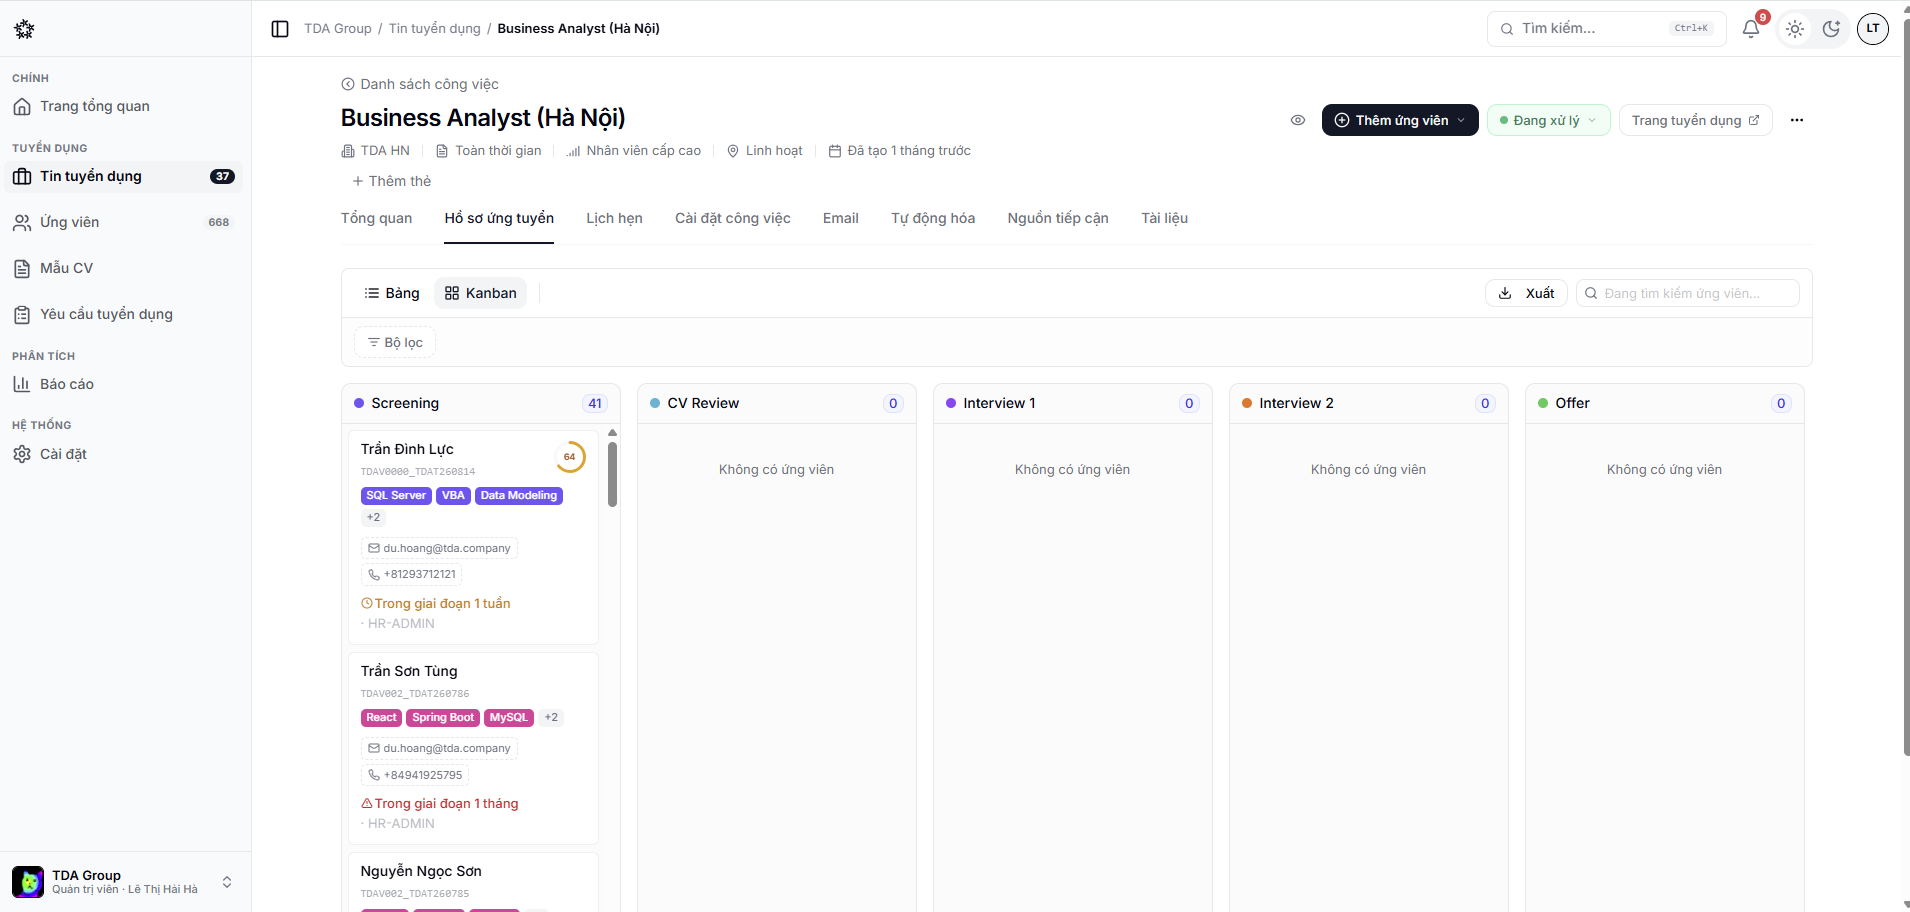
Moving an application
- Open the job and its candidates area.
- Select the application you want to work on.
- Move it to the next stage from the board or from the action inside the application.
- Check which forms, emails or automated actions were triggered.
Changing a stage can send an email, assign an evaluator, create an event or reject the application automatically. Read the confirmation dialog before you continue.
Inside an application
Depending on the pipeline, an application can have areas for comments, screening, tests, documents, evaluations, events, offers, emails and activity.
Bulk actions
After a focused review session, handle the group at once instead of opening each application:
- Tick the applications in the list.
- Choose an action on the toolbar that appears — move stage, reject, send email or tag.
- Check the number of applications in the confirmation box, then confirm.
Bulk actions trigger automation exactly as single actions do. One confirmation can send dozens of emails at once.
Ending an application
An application leaves the pipeline in a specific state — hired, rejected, withdrawn or archived — with a reason your organisation defines. See Rejections and outcomes.