Set up Recruify in 10 minutes
This guide takes you from a brand-new workspace to your first open position.
1. Complete your team details
Open Settings → Team → General and check the team name and branding details. These are shared by everyone working inside the same team.
2. Invite members
Open Settings → Team → Members, add colleagues by email address and assign each of them a suitable role.
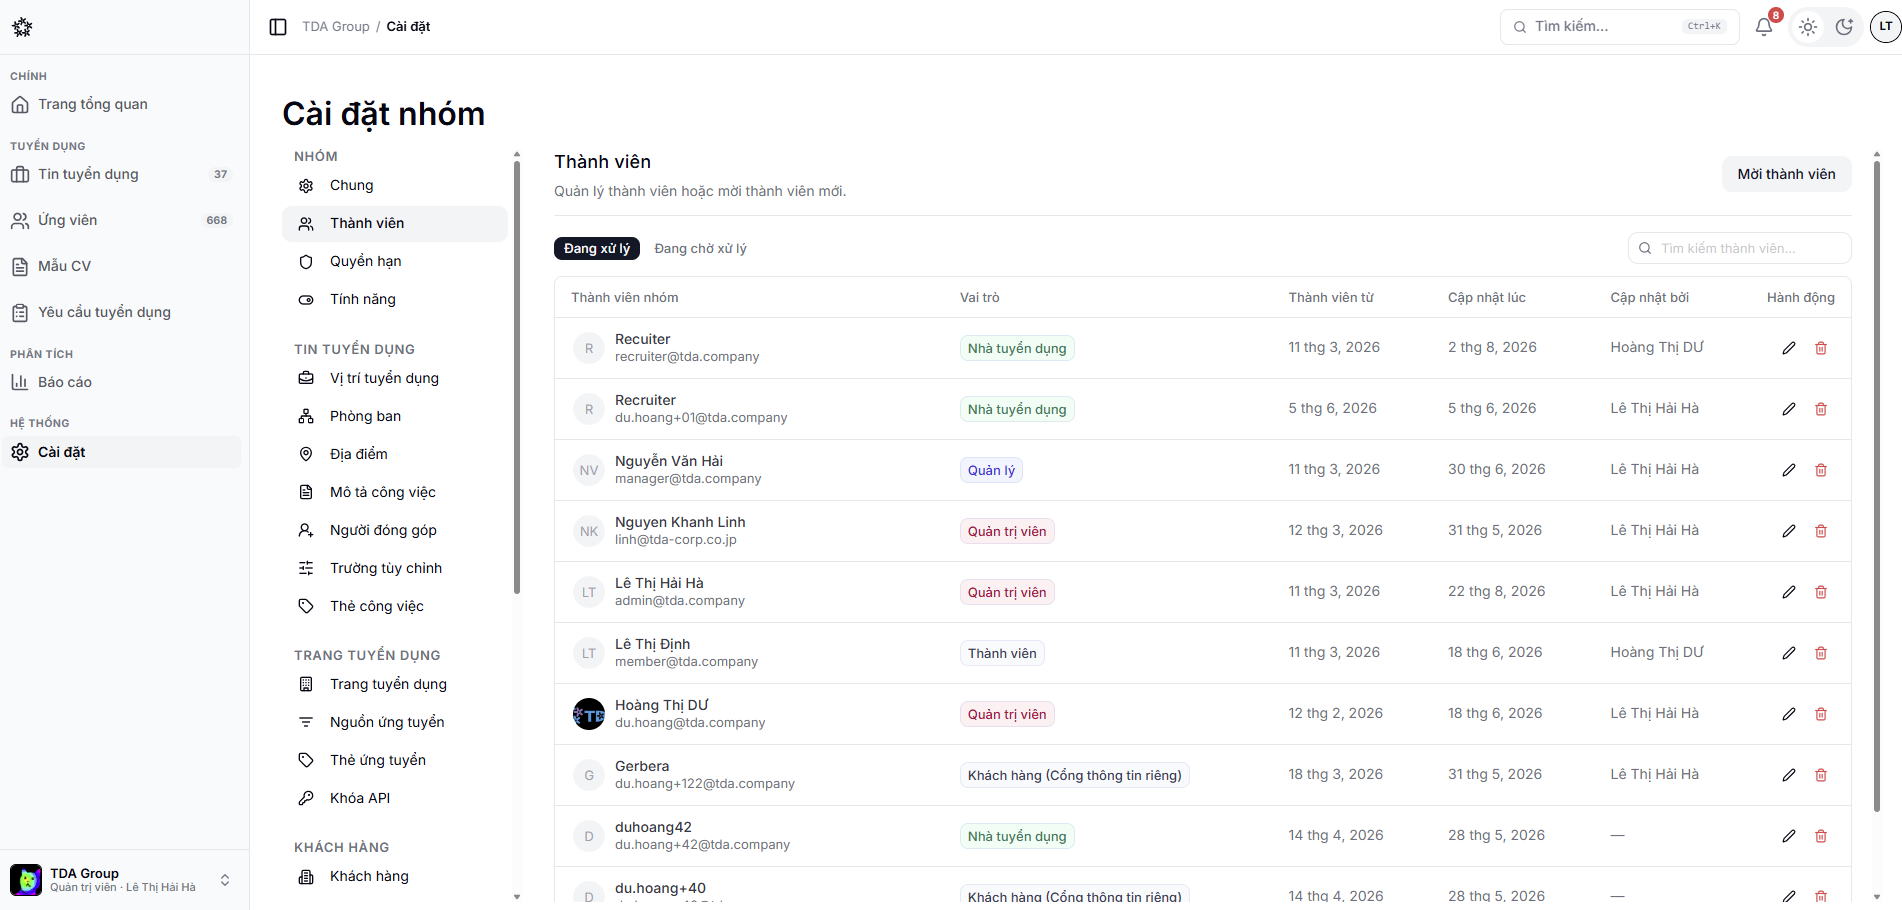
Grant only the permissions a member needs to do their job. Admins can fine-tune them under Permissions.
3. Prepare your recruitment data
Under Settings you can set up in advance:
- departments, job positions and locations;
- job description templates;
- pipeline templates, screening questions and scorecards;
- email, interview and evaluation templates.
You do not have to finish every setting now — you can fill in the gaps while creating a job.
4. Create a job
Open Jobs, create a new position, fill in the required details and pick a hiring pipeline. See Create and publish a job for what to check before you publish.
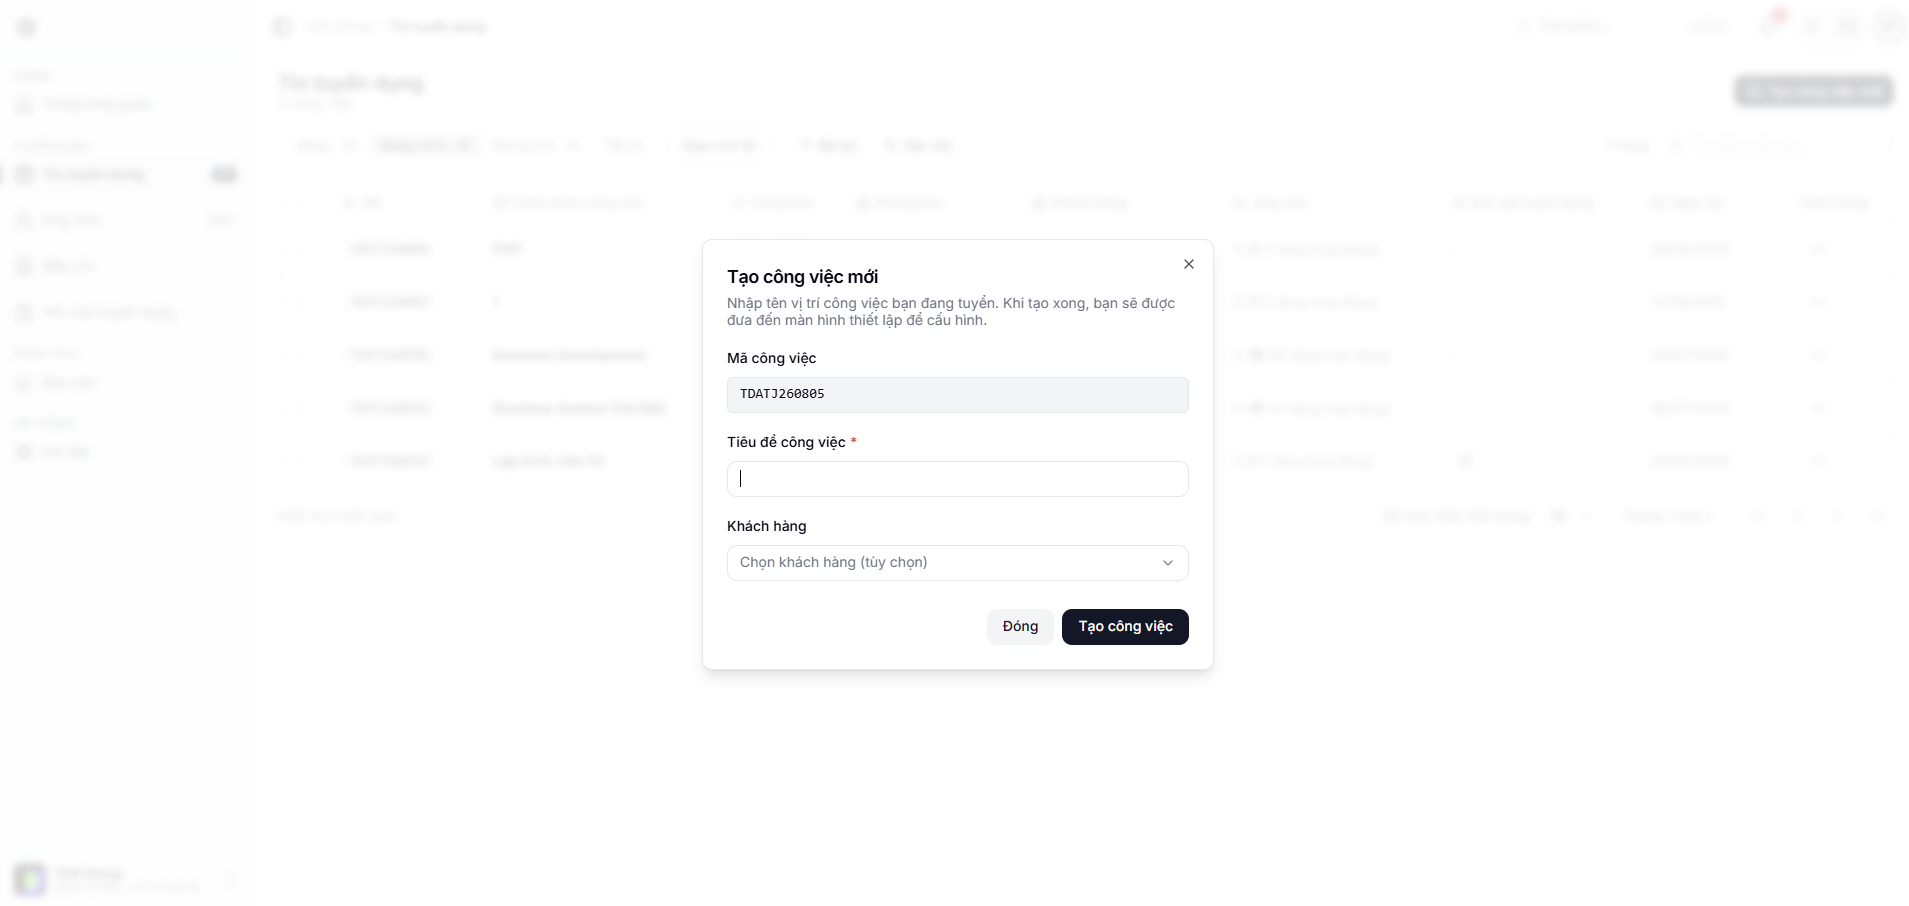
5. Start receiving candidates
Candidates can arrive from the public career page or be added directly by a member with the right permission. Once an application shows up, the team can track it and move it through the stages.
You are ready when
- at least one member responsible for hiring has joined the team;
- department and position data is correct;
- the job has a hiring pipeline;
- the application page, or however you take applications, has been tested.